Building a Memo Book Personalization Web App for Field Notes
A Companion App to the New “Vignette” Edition

I checked my email… On January 14, 2009 at 1:44pm I placed an order for my first 1 pack of 3 Field Notes notebooks. Fields Notes, the brainchild of Draplin Design Company and Coudal Partners is a memo book brand which utilizes beautifully simplistic design and somewhat addictive smart product brand adaptions. I remember being a subscriber to the original COLORS run which sent you a unique set of memo books for each season. Soon, I had more memo books than ideas and started gifting them to friends.
Flash forward to this year when Noah Bernsohn reached out about his work with Field Notes and the possibility of a collaboration between the two of us. As it turned out, Field Notes was preparing a spring release of memo books called the “Vignette” Edition with a unique twist: the front cover would have a die-cut hole which you could slip any image into. Our conversation originally centered around building an Instagram effect of the customizable cover so you can go around simulating what your cover might look like. (We still might do this.) However, Jim Coudal had an even better idea: what if we created an app that allowed you to take a photo and have it prepared as a PDF in the exact format required, complete with trimming instructions. I loved it.
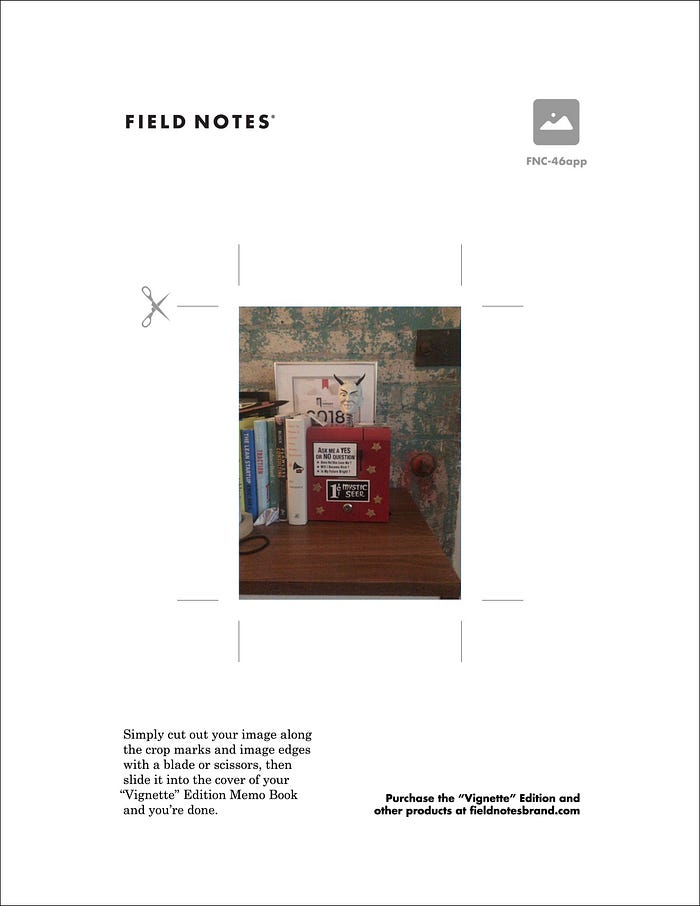
Today, Field Notes is proudly launching their awesome new “Vignette” edition and you can use our companion web app to personalize it. Read on to find out how we use web standards and a single Serverless function to go from 72 to 300 DPI.
Base

The flow I proposed was as follows:
- Intro — Inform the user of app’s purpose and present two actions: Choose Photo or Take Photo
- Camera — Allow user to take photo using their device’s camera
- Cropping — Allow the user to adjust the position and scale of photo
- Finish — Finally, present the user with options to generate a PDF guide of their cropped photo or share it socially as a product mockup
As is the case these days, I built our application using Vue.js and the application framework Nuxt.js. The application is hosted on Netlify and while I tried to also run the PDF function there but, I could not get the PDF creation library to cooperate. Instead, I hosted that single function using the Serverless framework on AWS.
Camera
I’m no stranger to building cameras in the browser. See my case studies for David Bowie, Slipknot, and Off-White just to name a few. Using WebRTC to gain access to the device’s camera, we can stream it to a waiting <video> tag.
navigator.mediaDevices.getUserMedia({
  audio: false,
  video: true
})
.then(stream => {
  this.stream = stream
  this.$refs.video.srcObject = this.stream
})
The tricky part of this build was taking into consideration that there would be an extended area of trim surrounding the vignette hole and somehow handling it responsively. We can begin by wrapping our <video> tag in a <div> which represents the hole.
<div class="hole">
  <video autoplay playsinline></video>
</div>
Then in CSS, we can size the hole responsively using an em unit and position the <video> tag absolutely in the center of the hole. The <video> is then also sized responsively but we’ll use a calc function to scale it up to the known trim dimensions. The object-fit property will then fill the trim area without stretching the video. Note: You’ll be seeing the 1.60 and 1.21 variables later on. These are simply the scale of the extended trim area when calculating from the hole size.
.hole{
  border-radius: 100%;
  height: 20em;
  overflow: hidden;
  width: 20em;
}.hole video{
  height: calc(20em * 1.60);
  left: 50%;
  object-fit: cover;
  position: absolute;
  transform: translate(-50%, -50%);
  top: 50%;
  width: calc(20em * 1.21);
}
In order to take the photo, we simply draw the video tag to a waiting canvas.
let video = this.$refs.videolet canvas = document.createElement('canvas')canvas.height = video.videoHeight
canvas.width  = video.videoWidthlet context = canvas.getContext('2d')context.drawImage(this.$refs.video, 0, 0)
Cropping
Cropping a provided image is something I tackled on a recent project for Denzel Curry and I used the same solution here: Fabric.js. I would check out that case study for the base solution. What was complicated about this app is that I really wanted to be dealing with print dimensions rather than screen dimensions at this step. Again, the goal of this application is to place the cropped image onto a printable PDF guide. Similar to the video step, we would need to contain our Fabric.js <canvas> in a responsively scaled hole div. However, the <canvas> itself should really be at the scale of print rather than screen.
I recalled from one of my earliest graphic design classes that a screen uses 72 dots (pixels) per inch but a high quality print needs 300 dpi. So, if our trim area is 3.55 inches tall and 2.69 inches wide, the high quality screen pixel dimensions would be 1065x808. Of course, if I added a <canvas> that big within the waiting hole div it would make for some unfriendly cropping. What we really need to do is responsively scale down that <canvas> tag so it fits nicely. In a perfect solution, there would be no apparent difference between the image scale and positioning of the image on the camera and cropping page.
Since Fabric.js is managing our canvases, I chose to handle most of this resizing logic using javascript but it still called for some base CSS. The .canvas-container element receives the same responsive calculated dimensions that the <video> tag received earlier. Notice how I’m directly passing the 300 DPI trim dimensions to the awaiting <canvas> elements. That transform-origin property proved very important as we will use some CSS scaling to size the actual <canvas> elements.
.hole{
  border-radius: 100%;
  height: 20em;
  overflow: hidden;
  width: 20em;
}.hole .canvas-container{
  height: calc(20em * 1.60);
  left: 50%;
  position: absolute;
  transform: translate(-50%, -50%);
  top: 50%;
  width: calc(20em * 1.21);
}.hole .canvas-container canvas{
  height: 1065px;
  left: 0;
  transform-origin: left top;
  top: 0;
  width: 808px;
}
Now, onto Javascript. First, we need to size the Fabric.js produced canvas to the 300 DPI size of the trim area.
let canvas = new fabric.Canvas(this.$refs.canvas, {
  height: 1065,
  width: 808
}
Then, knowing the scale of the trim dimensions as compared to the responsive hole dimensions will allow us to calculate the transform necessary to use CSS scale to resize the print dimensions canvases to screen size.
let hole = this.$refs.holelet screenTrimHeight = hole.offsetHeight * 1.60
let screenTrimWidth = hole.offsetWidth * 1.21
let printTrimHeight = 1065
let printTrimWidth = 808let sy = screenTrimHeight / printTrimHeight
let sx = screenTrimWidth / printTrimWidthlet canvases = Array.from(canvas.wrapperEl.children)canvases.forEach(c => {
  c.style.cssText = `transform: scale(${sx}, ${sy});`
})
If none of that makes sense, try dissecting this Codepen I put together when working out the functionality.
PDF Generation
Now that we have a 300 DPI trim image ready to go, let’s turn it into a PDF. While I initially looked towards doing this in the browser, I instead shifted to creating a Serverless function powered by the PDF generation library PDFKit. Before we jump into the function, let’s look at how we’re going to send the image to this function as a blob from our client and then get another blob in return.
After the cropping was complete, I stored it as a offline canvas using Vuex. You can turn a canvas into a blob using the toBlob method. From here, I create a brand new PNG file and then use fetch to post it using ‘multipart/form-data’ right over to the awaiting function URL. Fetch will then receive a blob of the PDF in return, which I pass to an openPDF() function.
let canvas = this.$store.state.imagecanvas.toBlob((blob) => {
  let file = new File([blob], 'FN.PNG', {
    type: 'image/png'
  })fetch(process.env.FIELD_NOTES_API, {
    method: 'POST',
    headers: {
      'Content-Type': 'multipart/form-data'
    },
    body: file
  })
  .then(r => r.blob())
  .then(this.openPDF)
})
In order to open the PDF, we can create yet another blob and then create an object URL to link to it. Then, we simply create an offline <a> element with the download property turned on. When this element is clicked (dynamically,) it should initiate a download.
let pdfBlob = new Blob([blob], {
  type: 'application/pdf'
})const data = window.URL.createObjectURL(pdfBlob)let link = document.createElement('a')link.href = data
link.download = "fn.pdf"
link.click()
Now, onto our Serverless setup. This is a pretty standard .serverless config with the exception of the inclusion of the serverless-apigw-binary plugin. This plugin prepares Amazon API Gateway to support binary files. In our case, a PDF. I found this Dev.to article by Aki Rautio to be super helpful.
service: field-notes-apiprovider:
  name: aws
  runtime: nodejs12.x
  apiGateway:
    binaryMediaTypes:
      - "*/*"functions:
  hello:
    handler: handler.pdf
    events:
      - http:
          path: pdf
          method: post
          contentHandling: CONVERT_TO_BINARYplugins:
  - serverless-apigw-binary
  - serverless-apigwy-binary
  - serverless-offlinecustom:
  apigwBinary:
    types:
      - "application/pdf"
Let’s write our function. First, the requirements and function wrapper. We’re going to require the PDFkit library and base64-stream which will allow us to encode and stream Base64.
'use strict';const PDFDocument = require('pdfkit');
const { Base64Encode } = require('base64-stream');module.exports.pdf = async (event, context) => {
  // functionality will go here
}
Then within the function itself, let’s create a new Buffer from the image we posted as a Base64 string.
let image = Buffer.from(event.body, 'base64')Using PDFKit, we can then assemble the PDF. This is actually quite simple. First we initialize a new document. Then we resize and place the posted image in the center of the composition. A transparent guide PNG which includes crop marks and branding is then sized to fit the entire page and placed on top. Finally, buffers are used to handle the PDF creation data as it comes through and is then returned by the Promise.
const pdfBuffer = await new Promise(resolve => {
  const doc = new PDFDocument()  doc.image(image, 209, 268, {
    height: 256,
    width: 194
  })  doc.image('guide.png', 0, 0, {
    height: 792,
    width: 612
  })  doc.end()  const buffers = []  doc.on("data", buffers.push.bind(buffers))  doc.on("end", () => {
    const pdfData = Buffer.concat(buffers)    resolve(pdfData)
  })
})
Our last step is to simply return our PDF buffer as a Base64 string.
return {
  headers: {
    "Content-Type": "application/pdf",
    "Access-Control-Allow-Origin": "*",
    "Access-Control-Allow-Credentials": true
  },
  body: pdfBuffer.toString("base64"),
  isBase64Encoded: true,
}
Bonus: Faux 3D Compositing

Another function of our web app is the instant mockup you receive once you’ve cropped your image. In addition to giving the user instant satisfaction to see their image on the product, they may also download and share the image socially to expand the reach of the campaign. Fabric.js was also used to pull this off by simply fine tuning the scale, skew, and rotation of the cropped image. It’s not quite 3D but works close enough for our app. Check out this Codepen for a working example of the composition.
Thanks
Thanks to Noah, Jim, and the entire Field Notes team for the opportunity to play a small part of this huge release. Like any other project, I had enthusiasm for the problem itself and built the app without ever seeing the actual product. However, when I finally received my early copies of the new memo books, I absolutely flipped. Using this app or the included image trimming tool, I found myself trying various personalizations to find something that fit my mood. Congratulations to the Field Notes team for this super fun release. “Vignette” edition is out now.