Recreating the Red Dead Redemption 2 Compass using Mapbox
Codepen Included
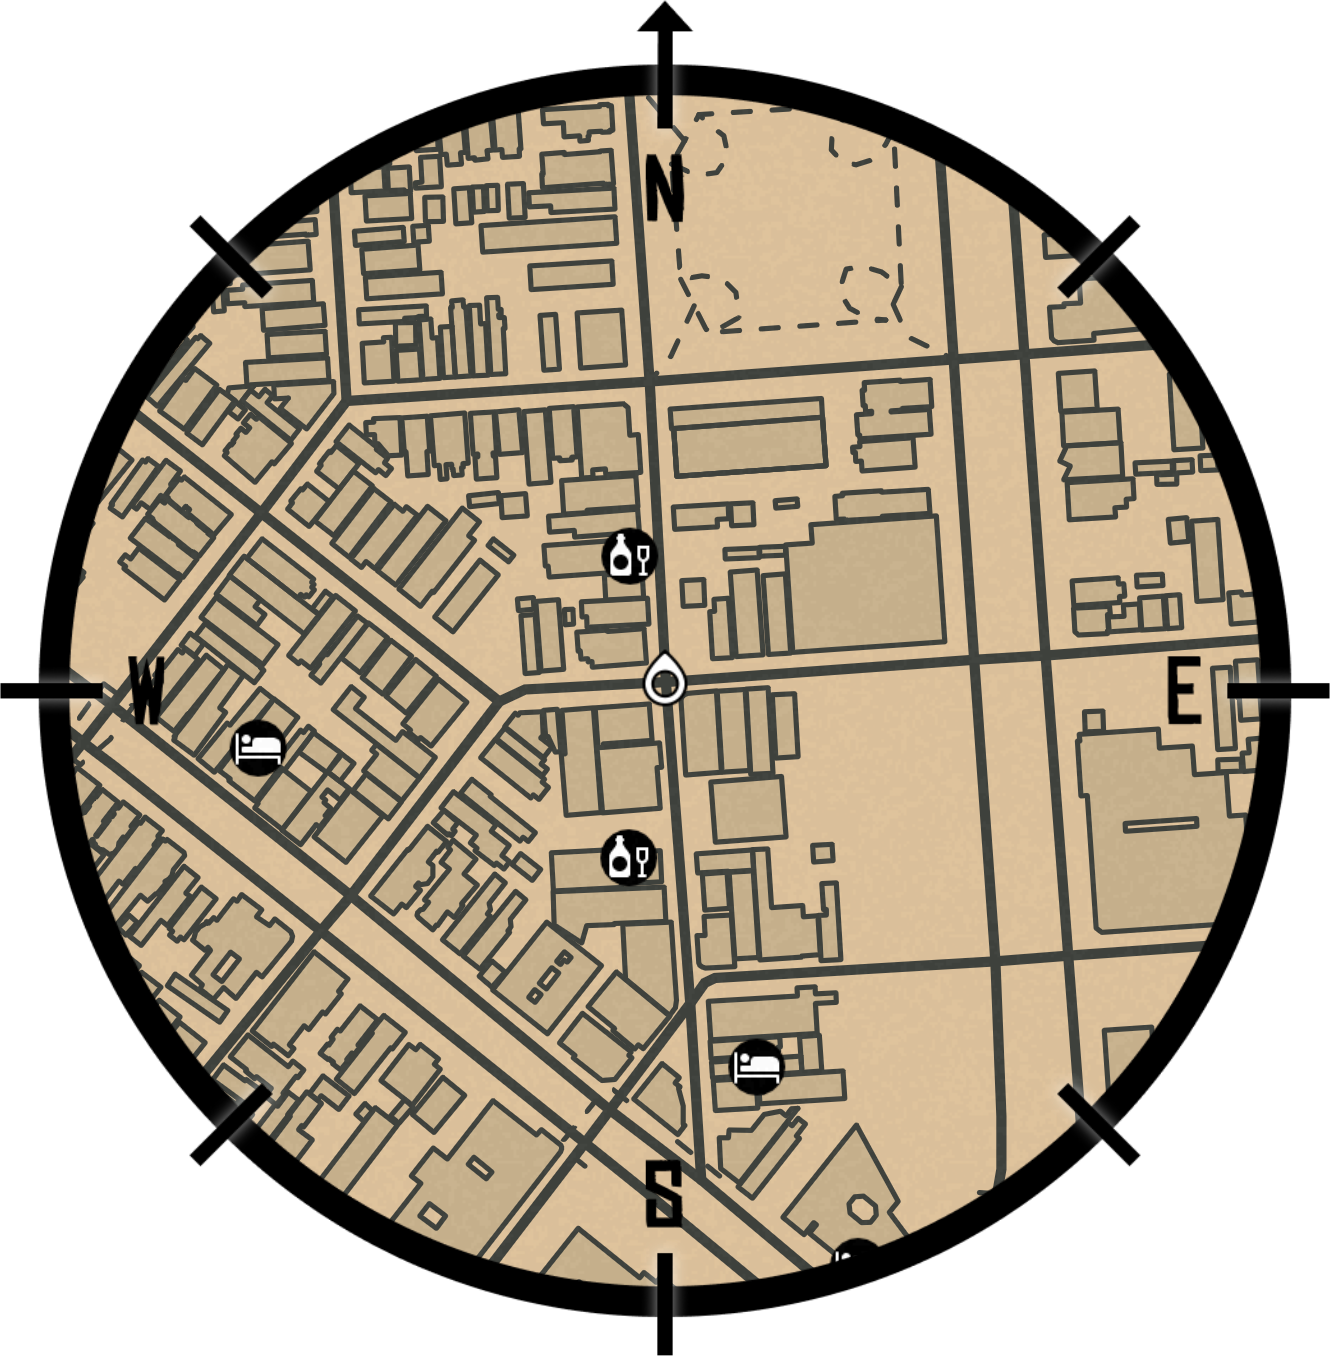
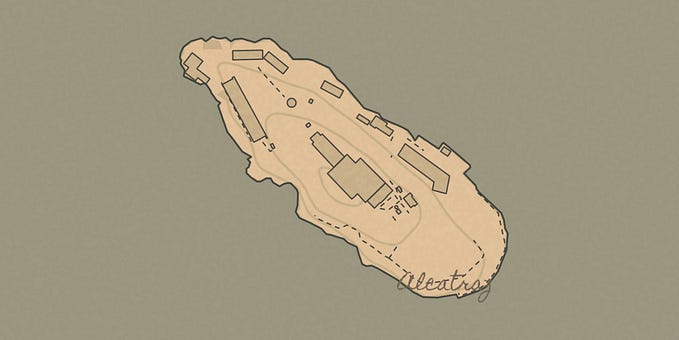
Last month, Mapbox and I published a map style and tutorial recreating the world map in the Red Dead Redemption 2 aesthetic. You can explore the map, add it to your Mapbox Studio account, and sign-up to read the 7000+ recreation tutorial. Once you create a map style such as this in Mapbox Studio, it’s very easy to then integrate it into an application you’re building. So, as an added bonus, I’d like to share how you can create a simple real life version of the RDR2 compass using Mapbox GL JS. The compass we’ll build works best on iOS Safari so try it here on an iPhone, explore the Codepen, and read on to learn how it was constructed.
The HTML of our compass is simple. We have a few container elements that house the map and a compass graphic (I designed in Figma) which is positioned absolutely on top. Here’s that HTML:
<main>
  <section>
    <div id="map"></div>
    <div id="compass"></div>
  </section>
</main>
And a bit of CSS for positioning things.
html{
  background: #333;
}html, body, main{
  height: 100%;
  overflow: hidden;
  width: 100%;
}main{
  align-items: center;
  display: flex;
  justify-content: center;
}section{
  height: 60vh;
  position: relative;
  width: 60vh;
}#compass{
  background: url(compass.png);
  background-size: cover;
  height: 100%;
  position: absolute;
  width: 100%;
}#map{
  border-radius: 100%;
  height: 81%;
  left: 50%;
  position: absolute;
  transform: translate(-50%, -50%);
  top: 50%;
  width: 81%;
}
Once your HTML and CSS is added, you can begin added some Javascript. First, signup to Mapbox and add the style to your Mapbox Studio account so you can generate your own access token and style link. Then, make sure to include the Mapbox GL JS library first. Finally, initialize your map with the following:
mapboxgl.accessToken = "YOUR_ACCESS_TOKEN"let map = new mapboxgl.Map({
  container: 'map',
  style: 'YOUR_STYLE_LINK',
  center: [-90.057758, 29.963539],
  zoom: 16.5
})map.on('load', function() {
  // everything else
})
This should load the map into your compass. The rest of the code we’ll add should fall within the map load function you see above. I secretly added a player icon to the “New Western” map style so let’s use Mapbox GL JS to add it to our map. This code uses a bit of geojson to define the point we’d wish to attach the player icon to and then establishes a reference to the actual image within our style.
map.addLayer({
  "id": "player",
  "type": "symbol",
  "source": {
    "type": "geojson",
    "data": {
      "type": "FeatureCollection",
      "features": [{
        "type": "Feature",
        "geometry": {
          "type": "Point",
          "coordinates": [-90.057758, 29.963539],
        }
      }]
    }
  },
  "layout": {
    "icon-image": "player",
    "icon-size": 1.5
  }
})
You should now see a player icon in the center of your compass. Now let’s use our device’s orientation to rotate both the compass graphic and map depending on the user’s current heading. We can do this using the Web API’s aptly named deviceorientation event. Again, within our map load event, let’s add the event listener and use the response to adjust the css rotation or our compass element and the bearing of our map.
window.addEventListener("deviceorientation", function(event) {
  let heading = event.webkitCompassHeading  document.getElementById("compass").style.transform = `rotate(${heading}deg)`  map.setBearing(heading)
})
That’s all it takes! 🙌🏻 The final thing we’ll want to do is listen for changes in the user’s actual position so we can recenter both the player icon and the map accordingly. We’ll do this using the Geolocation Web API. The geolocation interface has a function called watchPosition that takes a set of success and error callback functions. On success, we’ll simply use the provided position to recenter the map and adjust the coordinates of our player icon. If something goes wrong, we’ll log the error.
function success(pos) {
  let longitude = pos.coords.longitude
  let latitude  = pos.coords.latitude  map.setCenter([longitude, latitude])  map.getSource("player").setData({
    "type": "Point",
    "coordinates": [longitude, latitude]
  })
}function error(err) {
  console.log(err)
}navigator.geolocation.watchPosition(success, error, {})
If all goes well, when visiting this app on an iPhone, your compass should orientate itself like a compass and reposition itself as your explore your surroundings.
Now you can explore the points of interest in your town as you do in the game! I hope this simple tutorial inspires you to take a closer look at the technologies of Mapbox. It’s incredible what you can build using a handful of standard browser technologies once you’ve created a map style to your liking.