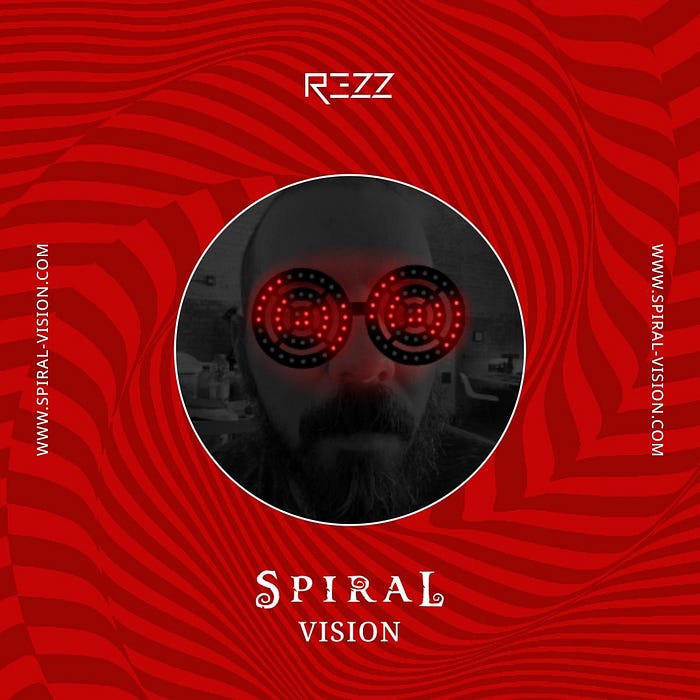
Unlock New Music from REZZ with your Eyes using Spiral Vision
Featuring MediaPipe Iris

At the end of September, the fine folks at RCA Records reached out to me with a great concept for their artist REZZ. Inspired by the trademark LED goggles REZZ wears, they pitched a mechanic which required fans to make a series of gestures with their eyes (look left, look right, close, etc) in order to unlock new music from her upcoming album Spiral. Similar to an old school video game, the required gestures would be shared socially as a code (e.g. ⬅️➡️⬆️➡️⬇️➡️) and fans would visit the experience to input.
Eye detection on the web is something that has interested me for a really long time and while I have detected eyes closed before, I wasn’t sure how to approach detecting eyes looking in a particular direction. I had a hunch though… I’m an avid follower of the work MediaPipe has been doing to bring ML solutions to the web and had recently read about their iris estimation work. If I was able to detect the position of the iris, perhaps I could determine if it was located in the left or right regions of the eye. As it turns out, that worked pretty well. Thank you Geometry.
Try unlocking a few codes on Spiral Vision today and read on to learn how it all came together technically.
Detecting Eye Gestures
TensorFlow provides an excellent Javascript library for predicting facial landmarks in the browser and they have extended this library to optionally include the iris detection model. Once the library is installed and included, predicting facial and iris landmarks happens in just a few lines of code.
// Load the prediction model
const model = await faceLandmarksDetection.load(faceLandmarksDetection.SupportedPackages.mediapipeFacemesh, {
  shouldLoadIrisModel: true
})// Predict face and iris from video stream
const predictions = await model.estimateFaces({
  input: document.querySelector("video")
})
The predictions come through as an array of 3D coordinates that make up the construction of a user’s face (and iris.) You can reference the mesh map to focus on particular points.

This library also includes a series of semantic groupings in the predictions which may be helpful, such as “silhouette,” “noseTip,” and “midwayBetweenEyes.” These are just arrays of points and you can also create these yourself as needed. In order to decide if the user’s eyes are looking left, looking right, or closed, we’ll use a series of these points alongside various geometric operations.
Looking Left (or Right)
First, let’s determine the leftmost, rightmost, and center points of the left eye itself. We can pull the left eye’s right edge right from the predictions at point 362. In addition, we can pull the left eye’s left edge from point 263. Utilizing these points, we can determine the center of the left eye by using a midpoint function. I like the keep a few of these helper functions handy.
midpoint(p1, p2) {
  // Return the middle of two points
  return [([p1[0] + p2[0]]) / 2, ([p1[1] + p2[1]]) / 2]
}
Now that we know where the center of the eye is, we can focus on the iris itself. Initially, I was thinking that if the center of the iris was closer to the left edge of the eye than the center of the eye, the user would be looking left. In testing, I found that a the iris center point actually didn’t move quite that far left even when straining. I had to determine a point between the eye center and left edge that signaled an eye looking left. Rather than using my midpoint formula, I established a percentpoint formula which allowed finer control over the position of this threshold point.
percentpoint(p1, p2, percent) {
  // Return percent point between two points
  return [
    p1[0] * (1.0 - percent) + p2[0] * percent,
    p1[1] * (1.0 - percent) + p2[1] * percent
  ]
}
The percentage point I landed on was 0.65. Basically, 65% from the left edge to the center of the eye. This established the wordy leftEyeLeftThreshold computed property.
leftEyeLeftThreshold() {
  // Return left threshold of left eye
  return percentpoint(leftEyeLeftEdge, leftEyeCenter, 0.65)
}
This work was then repeated for right eye.
Eyes Closed
Unlike looking left and right, closed eyes is something I was very familiar with detecting. We can do this by calculating the EAR or eye aspect ratio of a series of points from the eye prediction.
ear(eye) {
  // Return eye aspect ratio
  let a = Math.hypot(eye[5][0] - eye[1][0], eye[5][1] - eye[1][1])
  let b = Math.hypot(eye[4][0] - eye[2][0], eye[4][1] - eye[2][1])
  let c = Math.hypot(eye[3][0] - eye[0][0], eye[3][1] - eye[0][1])  return (a + b) / (2.0 * c)
}
We then simply check to see if this ear is less than a specified eye closed threshold. I used 0.1 as a threshold for this project.
leftEyeClosed() {
  // Determine if left eye is closed
  return ear(leftEye) < 0.1
}
Eye Status
Now that we know the left eye’s center, left look threshold, right look threshold, and closed status, we can create a computed property that outputs the left eye’s overall status as a handy string. If it is closed, we simply return closed. If not, we calculate all of the distances between the center of the iris and the center of the eye, left look threshold, and right look threshold and determine which one is closest. We’ll then return center, left, or right.
leftEyeStatus() {
  // If left eye closed
  if (this.leftEyeClosed) {
    // Return closed
    return 'close'  } else {
    // If not, calculate distances
    let distances = [
      distance(leftIrisCenter, leftEyeCenter),
      distance(leftIrisCenter, leftEyeLeftThreshold),
      distance(leftIrisCenter, leftEyeRightThreshold),
    ]    // Get index of minimum distance
    let index = distances.indexOf(Math.min.apply(null, distances))    // Return current status
    return ['center', 'left', 'right'][index]
  }
}
Here’s that simple distance formula.
distance(p1, p2) {
  // Get differences between x and y
  let a = p1[0] - p2[0]
  let b = p1[1] - p2[1]  // Return square root of sum of squares
  return Math.hypot(a, b)
}
We’ll do the same for the right eye and then wrap up everything in an overall eyeStatus function which determines the status of both eyes simultaneously. We can then use something like a Vue watcher to watch changes to this status and unlock a code.
Web AR Glasses
In addition to unlocking a music preview, the client wished to add in an AR effect which applied REZZ’s LED goggles on the user. In order to do this, we needed to figure out how to plot a 3D object (the goggles) onto the user’s face. Since we were already predicting the facial landmark points alongside the iris, we had all of the data we needed. We just needed a way to translate this data into something Three.js could interpret in our 3D scene.
Face Geometry Point Tracking
Luckily for us Juame Sanchez had developed this exact helper in the form of FaceMeshFaceGeometry. His library takes the landmark data from Tensorflow and creates a mesh geometry that can sit on top of a user’s face. It’s very well done. However, I was most interested in the ability to track points in the geometry and attach a 3D object to it. That way the 3D object would position, rotate, and scale itself to a user’s face. We wanted to place our REZZ goggles right on top of the user’s nose so I tracked the position of the nose by passing the appropriate points.
let track = faceGeometry.track(5, 45, 275)And then positioned and rotated my Three.js goggles plane accordingly.
goggles.position.copy(track.position)
goggles.rotation.setFromRotationMatrix(track.rotation)
If you’re interested in scaling an object also, check out this pull request which I implemented into this project.
Finally, you might need to reposition the object slightly and to do this you can use the translate functions provided by Three.js. I actually hooked up a dat.GUI to perfectly place my goggles object.
goggles.translateX(0)
goggles.translateY(0.2)
goggles.translateZ(0.25)
Goggles Canvas Texture
Our goggles object is actually just a Three.js plane but it uses a dynamic CanvasTexture to create the animated LED goggle effect. I worked out this animation beforehand in CodePen and you can check that out here. I liked creating this all in canvas because it gave me more control over the aesthetic and speed of the goggle animation.
Neon Glow
You can’t have LED goggles without a bit of glow on the face and I think I touched a nerve on Twitter when I shared this experiment during development. In order to do this, I actually did end up using the faceGeometry from Juame’s library to create a face mesh which sat on the user’s face. However, this mesh was given some THREE.AdditiveBlending to make it blend into the face. I also used an alpha map to focus on the eye area and blend the edges a bit. Here’s that setup.
// Initialize mask alpha
let alphaMap = new THREE.TextureLoader().load('/alphaMap.jpg')// Initialize mask material
let material = new THREE.MeshPhongMaterial({
  alphaMap: alphaMap,
  blending: THREE.AdditiveBlending,
  opacity: 0.9
})// Initialize mask
let mask = new THREE.Mesh(faceGeometry, material)
I then established a red directional light that would point at the mask area and give the face a red glow.
// Initialize light
let light = new THREE.DirectionalLight(0xFF0000, 0.25)// Add light to scene
scene.add(light)// Add light target
scene.add(light.target)// Set target to mask
light.target = mask
If I had some extra time and CPU resources, I could have created little lights for every LED on the goggles to give the lighting a more dynamic feel but this worked well enough.